Meccano Restoration
Written by Allen Berman in April 2008
Download this article in PDF format.
When I built the SM4 Giant Block Setting Crane, I was asked many times about my methods of Meccano restoration.
So, by popular demand, here is the story…
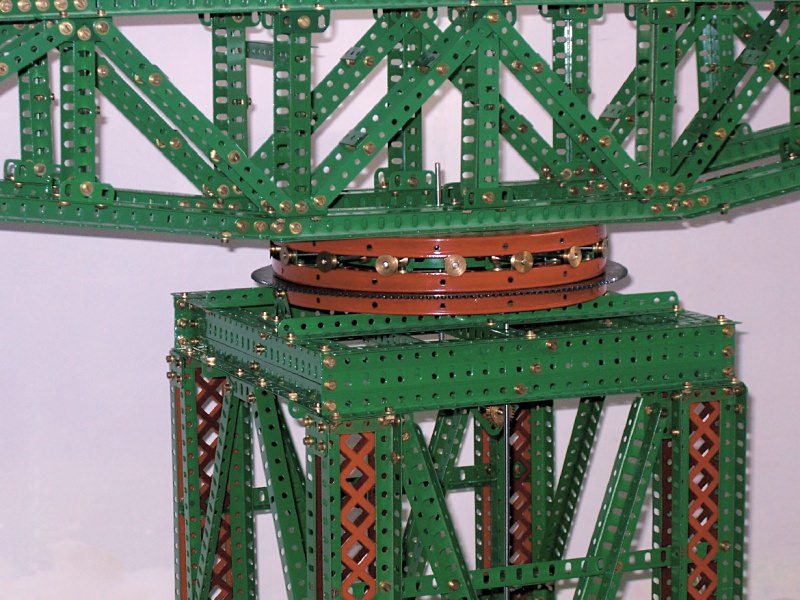
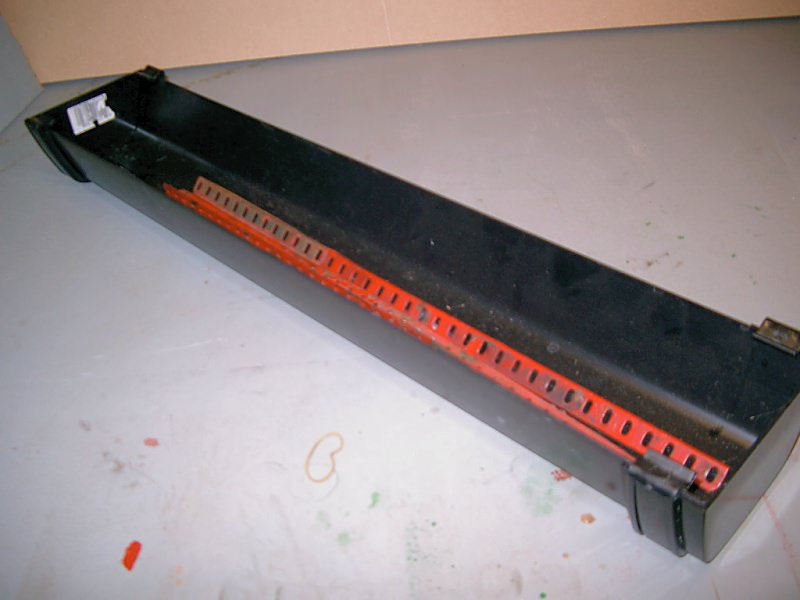
The fully restored Meccano in use in my SM4 Giant Block Setting Crane
Objective
Nothing in my Meccano stock that is:
- Bent
- Rusty
- Scratched
- Odd colours
- Any combination of the above
Stage 1 — Sorting
Sort the items into:
- Older painted colours (reds, greens, yellows, golds, blues (cross hatch)
- Zinc-plated
- Newer painted colours, bright yellow, blue, white, black etc.
Note: Older nickel-plated parts are not covered in this article as I have not found a chemical way of removing nickel plating yet; nor is brass because I have not found a chemical way of removing tarnish yet.
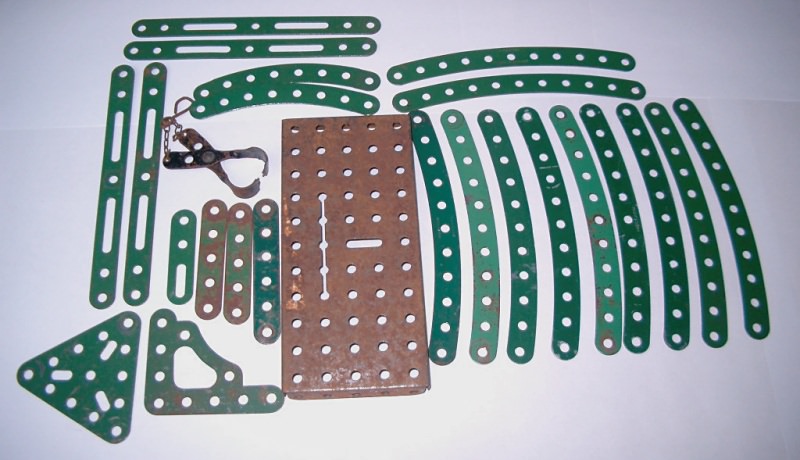
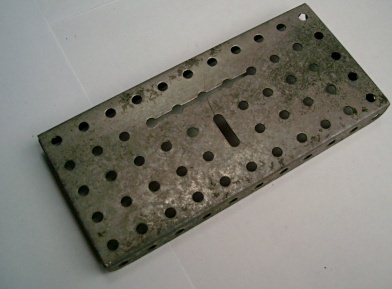
Old painted Meccano
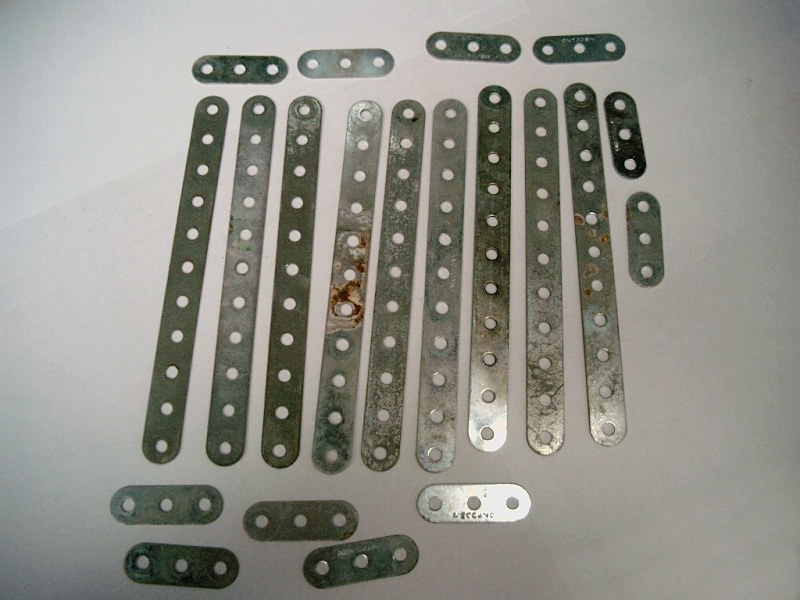
Old zinc-plated Meccano
Stage 2 — Removing Paint
Old Paint
This process is suitable for all older paints (Binns Road products):
Mix 3 heaped capfuls of caustic soda (a 1kg bottle of granules costs about £3.00 at B&Q) in about 3 litres of hot water from your hot tap. I use an old turkey roasting dish (ATWF). Stir for a few seconds to ensure that the granules are dissolved (wear rubber gloves) and place items to be stripped in the solution. I use some chicken wire as a basket to make it easier to remove the stripped Meccano at the end of the soak period.
Leave for about 2 hours and gently agitate with an old washing up brush (ATWF).
Remove from the solution and place in an old plastic bucket (ATWF) of cold water to wash off the caustic soda. The items should now be bare metal, so it is important to dry them thoroughly. If you have very long parts that will not fit into a turkey tin, such as 18½ and 24½ inch girders, the following suggestion works well. Visit a B&Q and buy a 2m length of square guttering, along with 2 end caps. Cut the guttering to the desired length and fit the end caps. This type of plastic is not damaged by the caustic soda and can be used for both paint stripping and washing the items afterwards.
You can reuse the caustic solution several times, but each time will take a little longer. Since caustic soda is sold as a drain cleaner, I pour the old stuff away down a toilet. Don’t use it for stripping paint from alloy parts — it attacks the aluminium (as I found to my cost, when restoring a flywheel from a Mamod steam engine!).
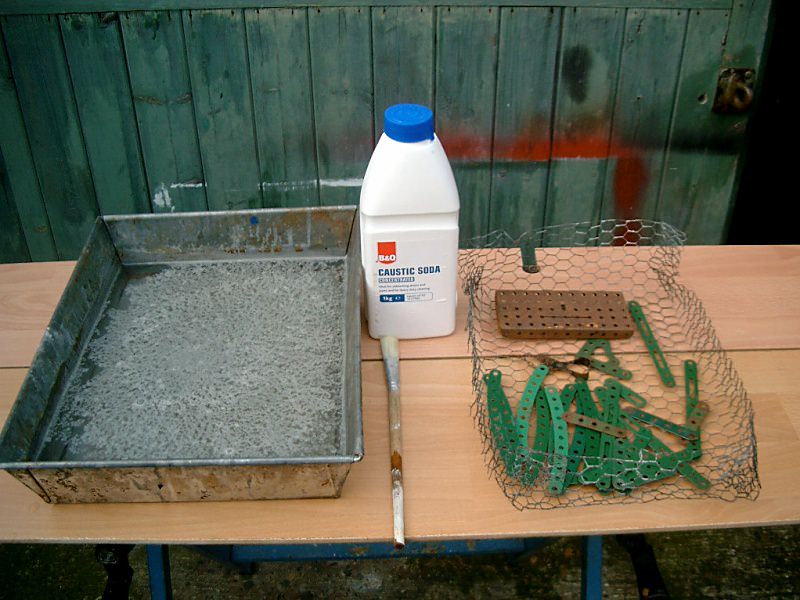
Removing old paint with caustic soda
Processing long parts in a guttering tray
New Paint
Newer paints are not affected by caustic soda, so commercial paint stripper is used, such as B&Q Paint and Varnish Remover (something based on Dichloromethane and Methanol). Wear rubber gloves and old clothes.
The instructions say dab the items to be stripped and keep them from drying out. This is too fiddly for small pieces, so I pour some of the paint stripper into an old glass jar and just soak the parts in the gel for an hour. The paint usually just falls off. I retrieve the parts with a magnet on a bit of string and wash them in cold water before drying.
The paint stripper can be used again and again, but you need to get rid of the resulting paint flotsam by using an old 4” strainer (ATWF). Follow the makers’ instructions for disposal of the stripper when you have finished using it.
Stage 3 — Removing Old Zinc-plate
Old zinc-plated parts that have zinc rot can be stripped ready for painting using the following method:
Zinc will dissolve in most mild acids. My preference is to use a mild solution of Spirits of Salts (sold in most hardware stores as a strong lime scale remover, about £3.50 for a bottle). You need to dilute this; I use one part spirits of salts to five parts water. This stuff is very strong and the following precautions should be taken:
- Only use it outdoors
- Don’t breathe the fumes
- Wear rubber gloves and eye protection
- Pour the acid into the water (not the other way round, remember your chemistry lessons at school)
- Wear old clothes
- If you splash any of the solution on your clothes or skin, wash it off at once with cold water
Having said all of the above (and probably scared you off using this stuff), it is a common household cleaner for removing lime scale from toilets etc. It is also used by builders for dissolving dried concrete and mortar from the face of bricks and for cleaning tools. I usually keep a solution of this stuff in an old glass jar (clearly labelled), it can be used over and over again. Since Spirits of Salts is sold as a toilet lime-scale remover, I pour the old stuff down the toilet when it is no longer required. Leave the zinc parts for a few hours and agitate occasionally. Remove the items from the solution and wash thoroughly in the plastic bucket of clean water. I said before that any acid will do, I have used vinegar (ATWF), but it takes 2 or 3 days to do the job. Probably best not to use it on your fish and chips afterwards though!
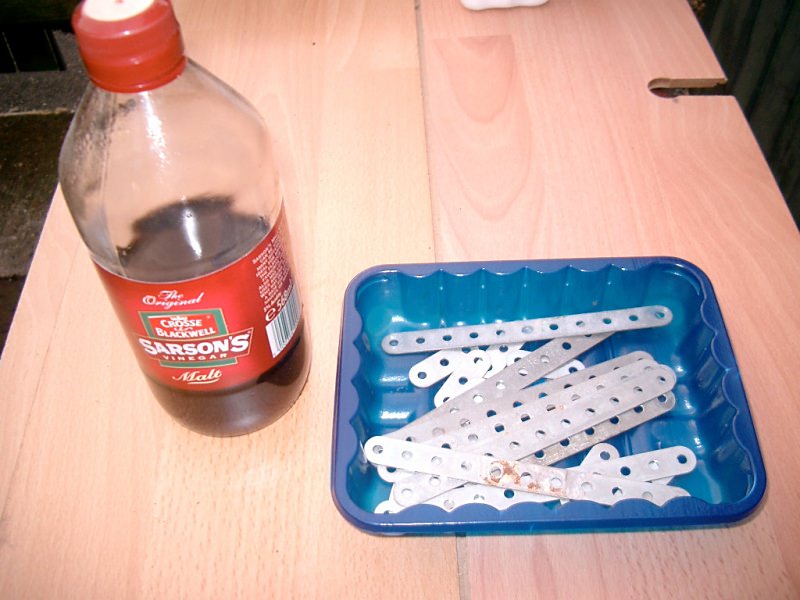
Removing zinc-plate with vinegar
Stage 4 — Removing Rust
You now have the parts that were painted or zinc-plated, back to bare metal, but they still might be rusty and/or bent. The next stage is to chemically remove any rust.
I use Phosphoric Acid. This is sold by Machine Mart in 1 litre bottles as rust remover (about £3.50 per bottle). It can be used over and over again and is very effective.
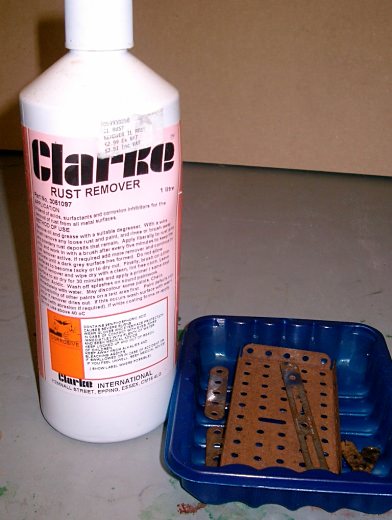
Rust remover
Pour the rust remover in a shallow container (plastic trays from supermarket meat work well, check there are no holes in it first), and soak all of the bare metal Meccano bits for a couple of hours, agitating occasionally. Once again, wash thoroughly in water. Using a magnet on a bit of string to pick up the items and dunk then in the water works well. Dry the items individually or with an old hair drier (ATWF).
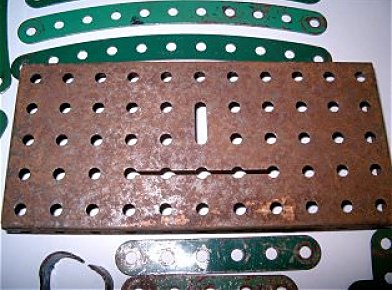
Before
After
Stage 5 — Metal Bashing
The final stage of preparation before repainting is straightening any bent or dented bits. My method of doing this is to use a lump of metal (fixed in a vice or Workmate) as an anvil and a small hammer to gently persuade the Meccano back into shape.
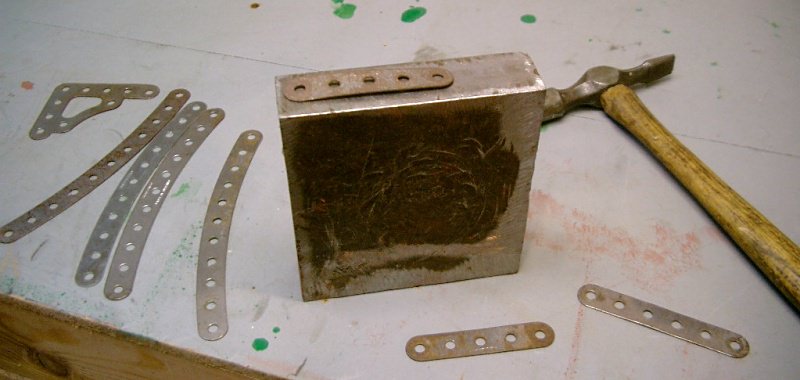
Straightening bent and dented Meccano
Stage 6 — Painting
Painting is a matter of personal preference. It depends what you want to do with the Meccano. If you are looking to have authentic colours and restore a collectable set, the method I use is not suitable. I wanted my Meccano collection to be robust, but easy to maintain. I chose to use Humbrol model gloss enamel for several reasons:
- It is widely available from most toy and model shops
- Humbrol thinners are sold at the same outlets
- It requires no undercoat or primer
- You can hand-paint the items because it does not leave brush marks
- The number 2 Emerald Green is a close match for Meccano mid green
- The number 19 Red is a close match for the Meccano light red
- It dries quickly and is non toxic
- If it gets scratched in use, it is very easy to ‘touch-up’
- It is available in several different size cans
- It is available as a brushing paint or as spray aerosols
- It is not expensive

Painting
I use a pair of forceps to hold the Meccano item while I am painting it — the paint flows between the jaws and still covers the area where it is gripped. I prefer to thin the paint with 20% thinners, this helps any surplus paint to drip off the item while it is hanging on the rack to dry.
My hanging rack is simply a piece of wood suspended between several bricks. On the wood I have stapled about 50 short lengths of wire, which are bent upwards to form a hook. As each item is painted, it is placed on the hook and the forceps released. After about 10 minutes, you will see a paint drip forming on the bottom of the Meccano. I find that just touching the drip with a small sponge with get rid of this surplus and the item will dry (in about 2 hours) without any blemishes or brush marks.
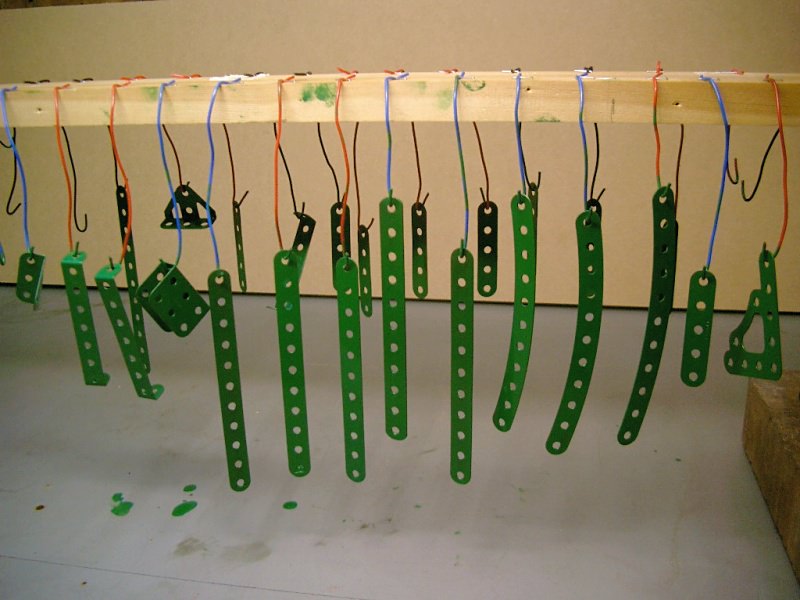
Parts drying on the hanging rack
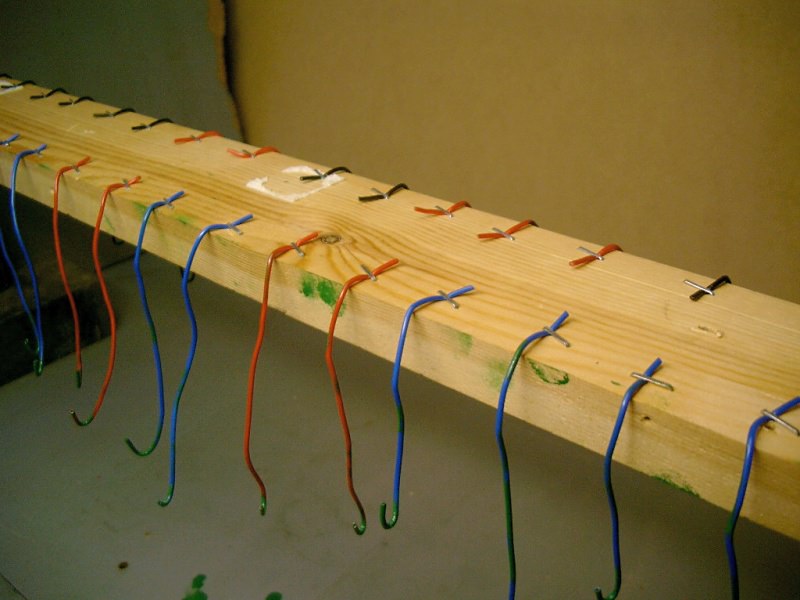
A close-up of the hanging rack
My preference is to use a paint pad rather than a brush. Large ones can simply be cut up to the desired size and held in a pair of forceps. This has the advantage of not needing to clean brushes, simply throw them away at the end of the painting session. It is also convenient to soak up the drips of paint on the Meccano that is on the hanging rack.
Stage 7 — Hardening the Paint
It is probably best to leave the Meccano to dry for 24 hours before taking it off the rack. Although it is dry, it is not yet hard. You can either leave it for 6 weeks to fully harden, or bake it in an oven (ATWF). Ten minutes at 150°C is sufficient. There will be some odour, but the paint is non-toxic and the smell disappears quite quickly.
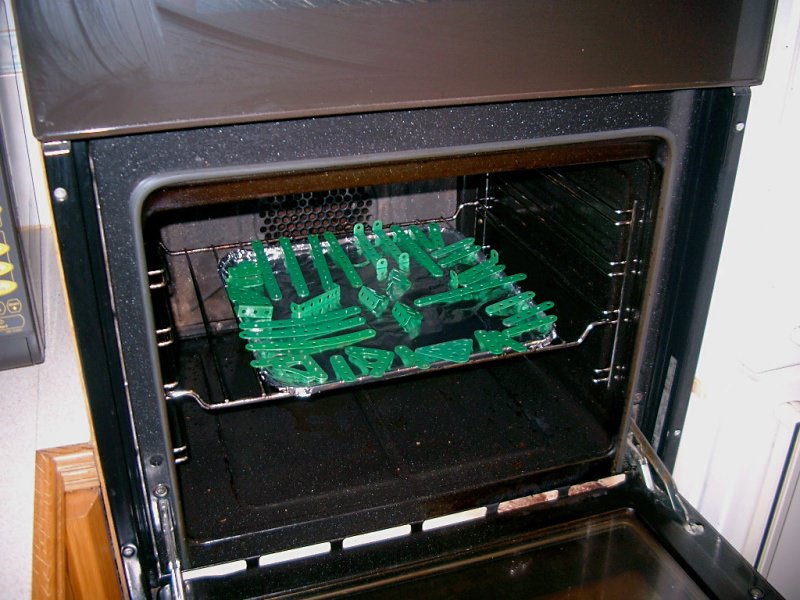
Hardening the paint in an oven
Conclusion
The methods of restoration I use are not perfect, but they do give a very good overall result and build aesthetically pleasing models.
By the way, if any of you were wondering what ATWF stands for… Ask The Wife First!
For more information and some great ideas on restoration, visit www.mecworld.co.za/cmrp.
This article © 2008 Allen Berman.